User Management
Keyavi categorizes users into two types: managed users and unmanaged users.
-
Managed users are users whose identities are managed by system administrators in your organization. They are typically internal users, but can also include external users depending on how you configured Keyavi. Keyavi Standard Configuration includes only managed users.
-
Unmanaged users are users whose identities are managed by another service like Google, Microsoft, or Apple. They are external users who are not managed by your system administrators. Unmanaged users have read-only access to Keyavi-protected files. They cannot protect their own files, but they can view files shared with them. Keyavi Standard Configuration with Consumer Support includes both managed and unmanaged users.
As a Keyavi User or Security Administrator, you'll use the User Management Console for both managed users and unmanaged users. For example, you can activate or deactivate users, add unmanaged users, modify permissions, and drill down into a user's dashboard. You can also generate the Welcome invite message to paste into an email that you'll send to new users.
Add External Unmanaged Users
You can add external users in the User Management Console only in Standard Configuration with Consumer Support. In Standard Configuration your Keyavi Administrator manages all users.
Before external unmanaged users can access Keyavi-protected data you must add them to the User Management Console. Unmanaged users are automatically added to the read-only user group.
Keyavi users can also add external users through the Data Management console in the Keyavi Portal.
To add an external unmanaged user:
-
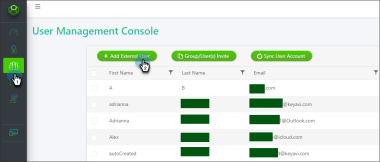
Select User Management from the left navigation, and then click Add External User.
-
Enter the unmanaged user's first name, last name, and email address, and then click Add.
-
Click OK on the success message.
-
Contact the unmanaged user and provide them with your organization code. See Generate User Invite below for details.
Generate User Invite
You can generate a user invite only for users in the Keyavi Standard Configuration.
-
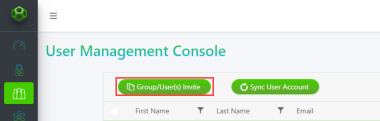
Select User Management from the left navigation and click Group/User(s) Invite.
-
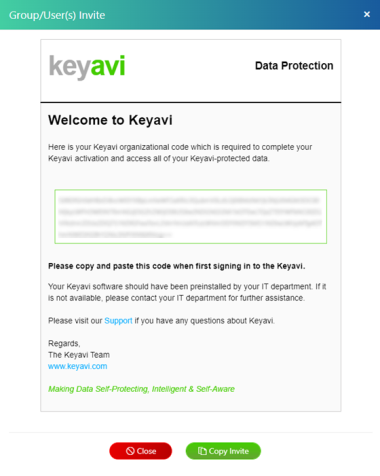
Click Copy Invite and then paste it into a new email that you'll send to the new users. The users will use the code when they sign into Keyavi for the first time or create a new profile.
Sync User Account
User synchronization doesn't automatically occur when users get added to the Keyavi Security Groups. By default, user synchronization occurs once a day or at a configured frequency.
However, if you're a Keyavi User Administrator, you can initiate the synchronization manually. Each synchronization event gets logged with a start and end time, the number of users added, and the number of users suspended.
-
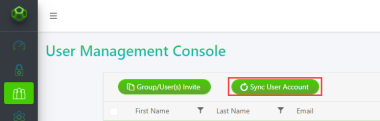
Select User Management from the left navigation and click Sync User Account.
-
When prompted, click Proceed.
During synchronization, if a user is in the process of changing their profile settings, they'll see a warning message.
Deactivate a User
Deactivating a user suspends their account until it is active again. Deactivated users cannot access Keyavi-protected files.
-
Select User Management from the left navigation.
-
Select the user from the list and do one of the following:
-
On the right side of the list, toggle Active to No.
-
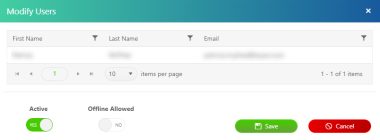
Under the list, click Modify, toggle Active to No, and then click Save.
-
Grant Offline Access
-
Select User Management from the left navigation.
-
Select the user and click Modify.
-
Toggle Offline Allowed to YES and click Save.
Manage a User's Data
As a Keyavi User Administrator, you can view the user's dashboard and drill down into their data protection![]() The process of encrypting a file and tying access policies to it so that authorized users can access the data securely based on restrictions set by the data owner. trends. You can also recall files, modify access, add users, and policy
The process of encrypting a file and tying access policies to it so that authorized users can access the data securely based on restrictions set by the data owner. trends. You can also recall files, modify access, add users, and policy![]() Rules associated with a protected payload that designate which users can access the encrypted file, from what locations, and for what time periods. requirements on all the protected data you've created. You can also drill down into the details of a protected file to view the chain of custody events and policy audit trail.
Rules associated with a protected payload that designate which users can access the encrypted file, from what locations, and for what time periods. requirements on all the protected data you've created. You can also drill down into the details of a protected file to view the chain of custody events and policy audit trail.
You can view only one user dashboard at a time.
-
Select User Management from the left navigation.
-
Select the user and click User Data Console. The user's dashboard opens, showing a list of their Keyavi-protected files.
From the user's dashboard, you can perform any of the actions that the user can on their data. See Data Management for more details on how you can manage data.
Reassign Data (Change Owners)
As a Keyavi User Administrator, you can transfer ownership of a file to another user. The original files also get transferred to the new user. This is helpful when a user leaves the organization. Another user can become the data owner![]() A user that encrypts the file with Keyavi and maintains control of that data throughout its lifecycle from the Data Management Console. rather than losing the data upon de-provisioning.
A user that encrypts the file with Keyavi and maintains control of that data throughout its lifecycle from the Data Management Console. rather than losing the data upon de-provisioning.
-
Select User Management from the left navigation.
-
Select the user and click Reassign Data.

-
Select the new data owner from the list and click Transfer User.
View User Device Details
You can see details about the devices where the user has installed the Keyavi clients.
To view device details:
-
Select User Management from the left navigation.
-
Click User Device.